Composite True 3D Text Into A Scene With Photoshop CS6

The 3D tools in previous versions of Photoshop were never been the best. They were clumsy, didn't look very good, and were not very flexible. In turn, 3D editing with Photoshop never really caught on to become part of anybody's regular workflow.
With Photoshop CS6, the team at Adobe has completely redeemed themselves. The new rendering engine allows you create realistic 3D shapes and text quickly and easily.
This tutorial will show you how to composite real 3D text into a photograph without ever leaving the Photoshop CS6 interface.
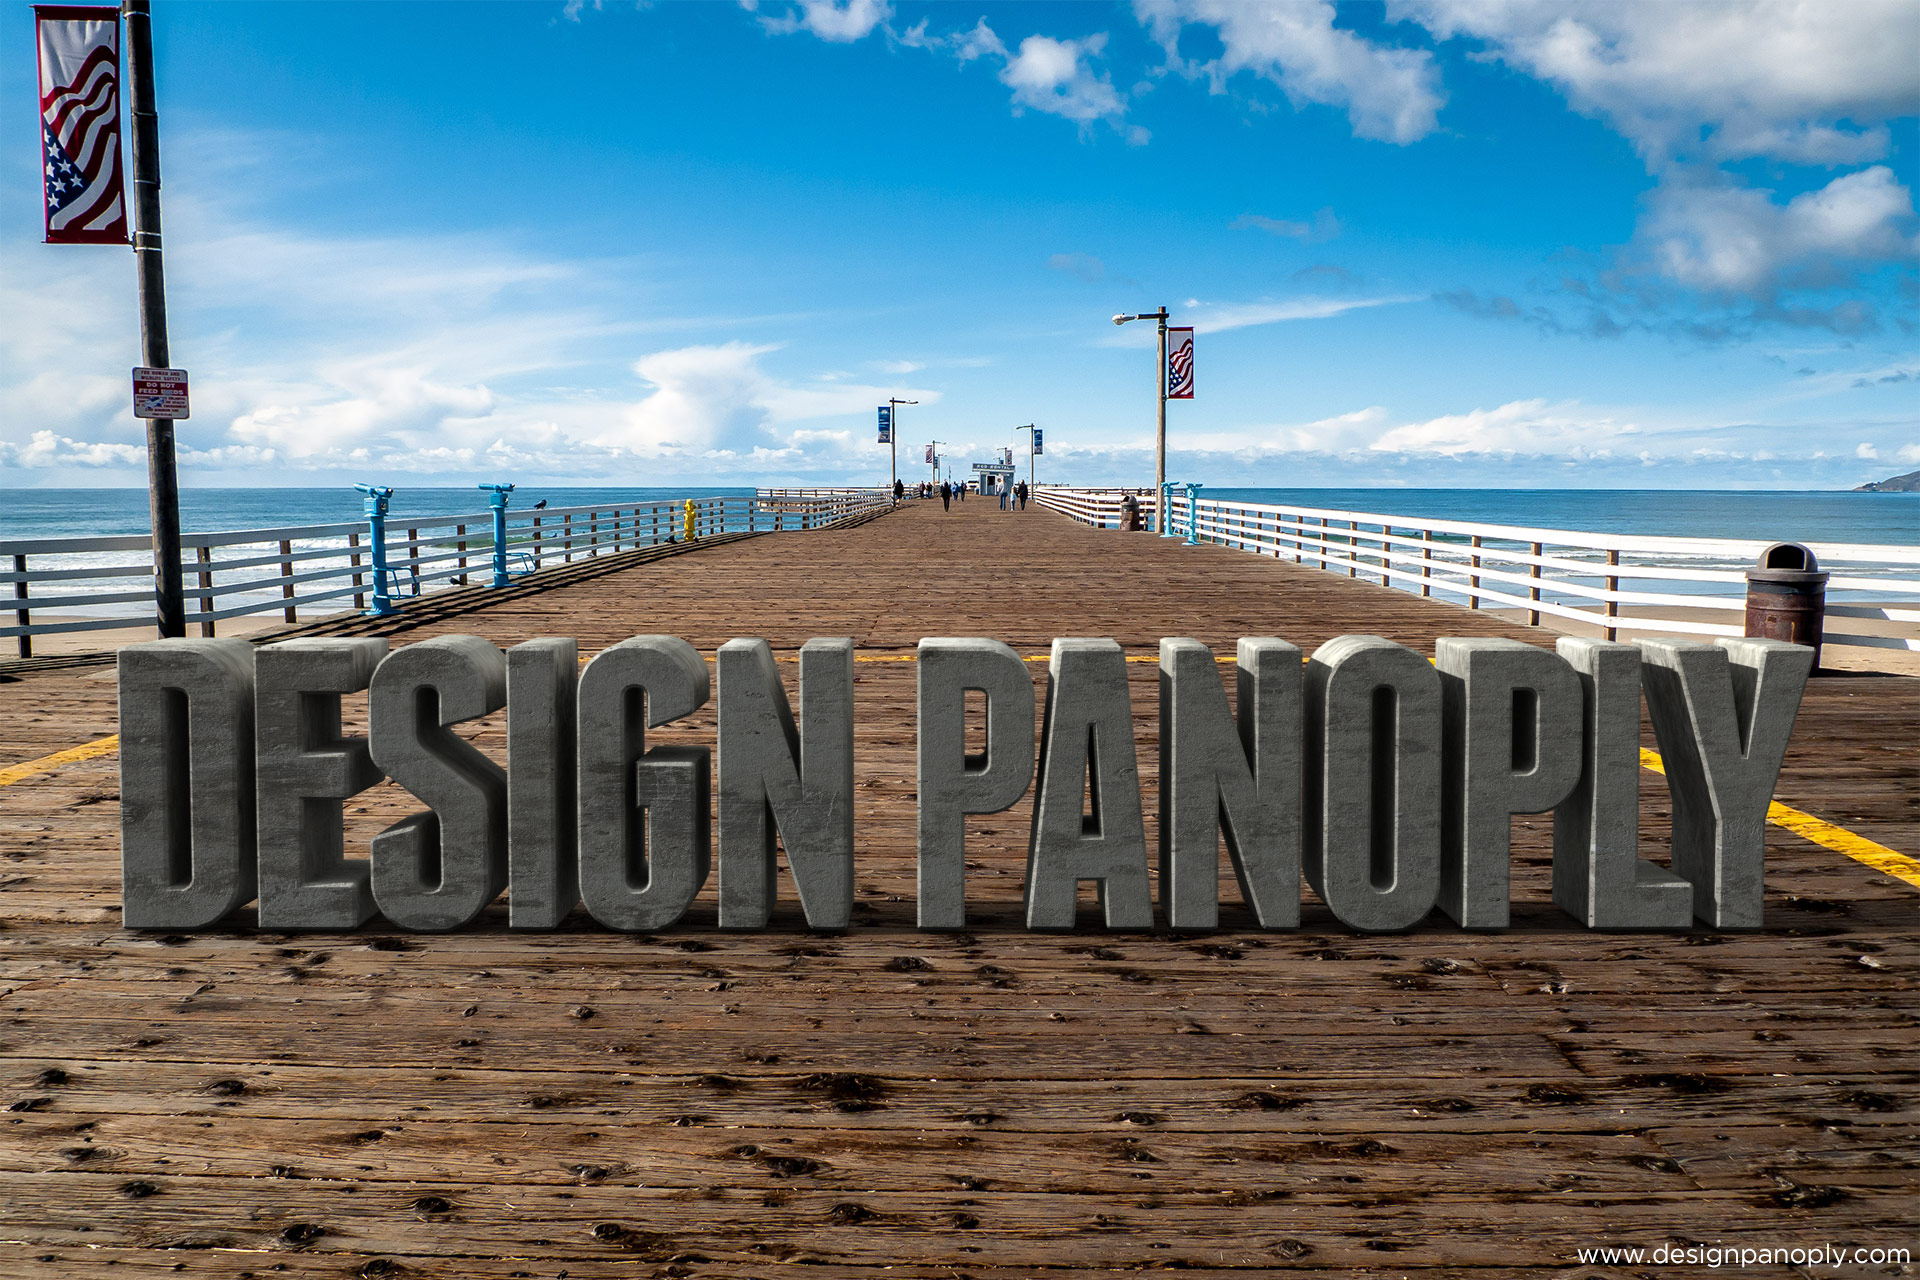
What We Will Be Making
Step 1
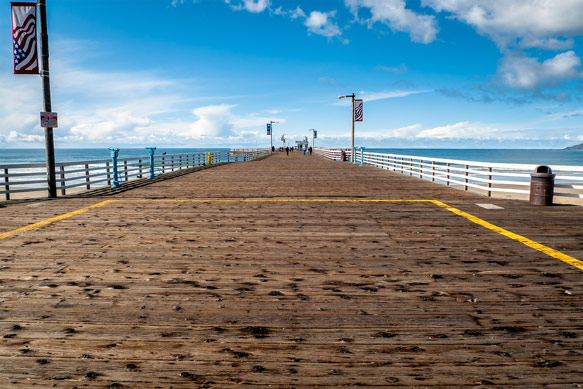
The first thing you will want to do is open the image you want to use as your background and double click the background layer in the Layers palette to unlock it. An image with a clearly visible horizon and straight lines works best.
I am using a photograph of a pier from my wife's birthday trip last year. You might recognize it from our video, Three New Blur Filters In Photoshop CS6. You can download it here.
This photo works well because the horizon is immediately identified, and there are lines and railings on the pier that make finding the focal length and angle the photo was taken at easy.
If you know the true focal length of your original image, you can use that to help you later on. If not, it's not a big deal.
You should end up with something similar to the image below. Just a plain image background.
Step 2
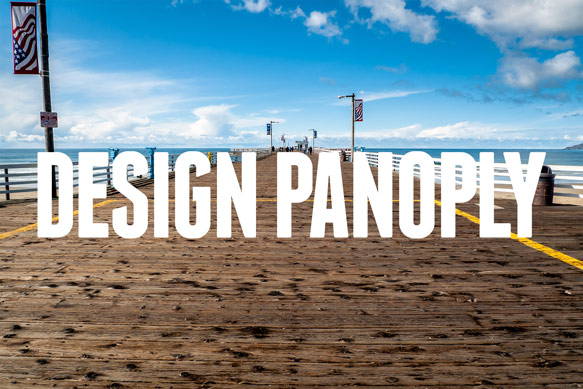
Create a large block of text, preferably using a thick, sans-serif font. We used Franchise.
You should end up with something similar to the image below.
Step 3
With your text selected, open the 3D palette. By default it is in the same window next to the Layers palette. If you can't find it, click Window > 3D to bring it up.
Click the 3D Extrusion radio button and hit Create.
In the 3D palette, you will notice a whole bunch of new items. If you aren't familiar with any 3D software, don't worry, we will start from the top.
Step 4
First, click on Environment.
In the real world, outside lighting is comprised of direct, and indirect illumination (plus reflections and other things we won't get into). The sun is a direct light source since it comes from a single spot, and the blue sky is an indirect light source because it illuminates the scene from every possible angle.
IBL stands for Image Based Lighting and allows you to specify an image to be used to light your scene indirectly. Instead of an actual image, we will be using a solid color "image".
Set the color to #F3FCFF. This will simulate a light blue sky casting indirect illumination in our scene.
Set the Intensity of this "skylight" to 60% and the Shadow Softness to 75% to give us a nice even light with soft shadows.
Change the Opacity of the Shadows under Ground Plane to 95%.
Your settings should look like this.
Step 5
We won't be changing any settings under Scene, so you can skip down to Current View.
You will need to rotate the camera using 3D transformation tools in the top toolbar of Photoshop until you match up the horizon line in your 3D grid with the horizon in the photo.

You will also need to adjust the FOV (Field of View) until the converging lines of your grid become parallel with the converging lines in your photo.
This step can take some time so be patient. You may need to resize your text a few times throughout this process.
The camera settings for our image are shown below.
Step 6
Next we will specify the settings of our extruded text.
Set the Extrusion Depth to 150 under the Mesh property window. The Extrusion Depth slider adjusts the thickness of your 3D text.
Move over to the Cap property window and change the Bevel Width to 10%. Adding a slight bevel adds to the realism of our scene.
Step 7
Now we will apply some texture to our 3D object.
Click the Front Inflation Material layer to open the Materials properties window.
Click the icon next to the Diffuse material slot to and click Load Texture. Navigate to a texture on your computer and load it in. We used our Concrete Texture 013.
Click the same icon again and select Edit UV Properties and use the settings shown below.
Step 8
Do the exact same thing as you did in step 7, except this time for the Bump material slot.
Set the Bump to 10%. This makes our texture look like it has some depth and roughness to it.
Step 9
Click the arrow next to the 3D material preview render, then click the gear icon and select New Material.
Name your material and hit OK.
Step 10
Highlight all of your different surface layers and click the arrow next to the 3D material preview render, then click your new material to apply the same material to the front and back inflation surfaces, the bevel surfaces, and the extrusion surfaces.
Step 11
Lastly we want to match the lighting in our scene to the lighting in the photo.
Photoshop added an infinite light source to our scene by default.
Click the Infinite Light layer.
Change the Intensity to 75% and the Shadow Softness to 3%.
Rotate the light source in your scene to match the light source in the photo. In this photo, the light is coming from a low-left position.
Step 11
Click 3D > Render or press CTRL + ALT + SHIFT + R to render your scene. Be patient, depending on your image dimensions and processing power it may take more than 5-10 minutes.
Once the 3D text is rendered, you can switch back to the Layers palette and continue working on other layers. You also have the freedom to go back into your 3D objects at any time and make whatever adjustments are necessary.
Final Image
Let Us Know
Was this your first attempt at 3D within Photoshop? Was it too difficult to follow? What other uses for 3D objects can you think of?
Related Items
Grab a PanoPass now and get instant access to all these items and much more.

