Dramatic Portrait Editing Lightroom Workflow

Watch Video Tutorial
Download full HD videos and tutorial project files with a PanoPass. You'll also get instant access to everything on the site, including products, and more.
This video will take you through the Lightroom workflow behind taking a photo from boring and flat to dynamic and engaging.
It's a pretty extreme example, but shows just how powerful the tools in Lightroom are when you need to transform something plain into something powerful.
Step 1
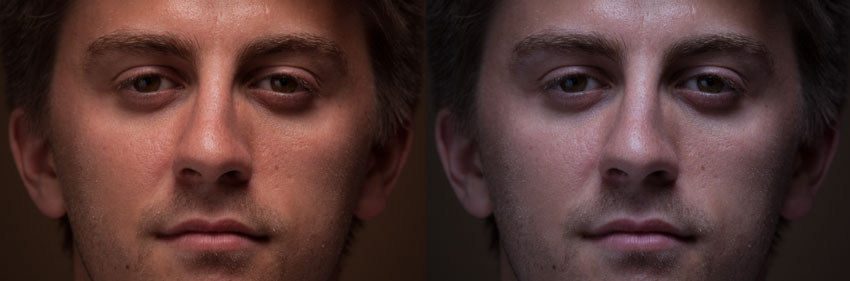
I'm looking to take my image from a standard close up portrait to something with a more dramatic, industrial look.
First, I'll decrease the white balance from 6050 to 4500 and the tint from +3 to -5 to make it a lot cooler.
Step 2
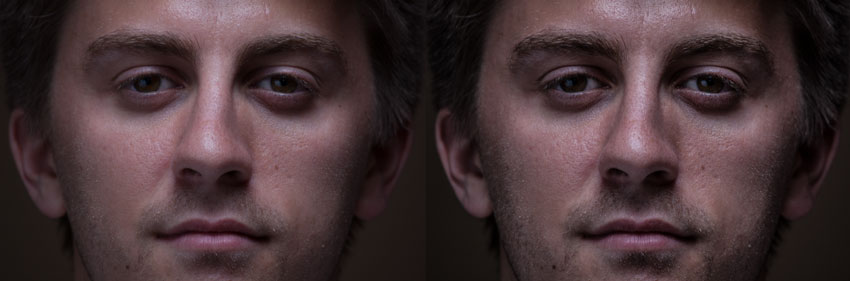
One of my favorite sliders in Lightroom is the Clarity slider. It lets you add some great contrast in no time.
For this image, we'll take the Clarity up to +75.
Step 3
Since I want to remove the "humanity" from this photo, I'll take out some color by setting the Vibrance to -10 and the Saturation to -50.

Step 4
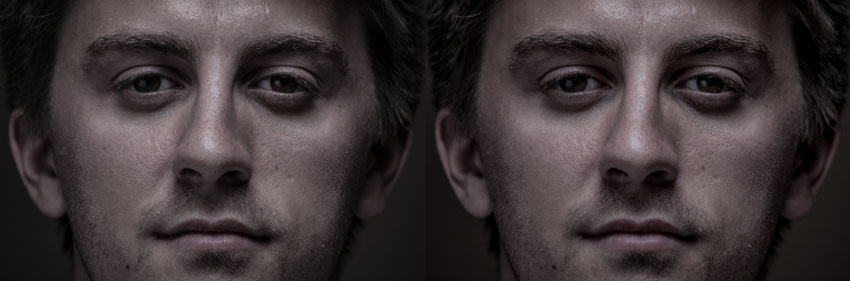
I want to bring back some detail in the shadows, but at the same time keep the harsh contrast in my image.
To do that, I'll set the Shadows slider to +100, then set the Blacks slider to -25.
Step 5
To add even more contrast, I'll increase the Contrast slider to +60.
Step 6
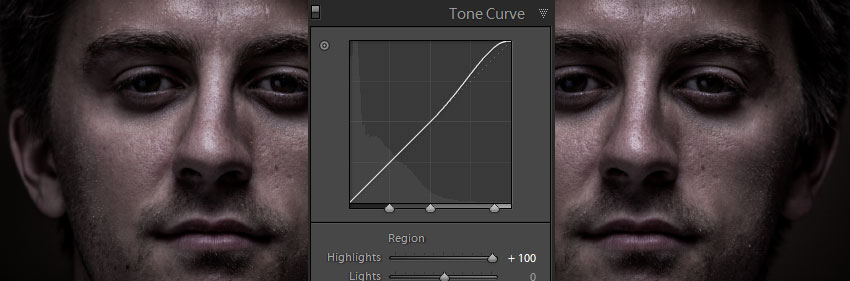
I want to flatten the highlights of my image a bit, then manually brighten just the very brightest parts of the image to make it really stand out.
First I'll set the Highlights to -25.
In the Tone Curve panel, I'll bring the Highlights stop as far right as possible, then set the Highlights slider to +100. This will give the skin in my photo a bit of a wet look.
Step 7
So far, the photo is a bit darker than I'd like, so back in the Basic panel I'll increase the Exposure slider to +0.85.
Step 8
An image like this calls for some extreme sharpness, so in the Detail panel I'll set the Sharpness all the way up to +150.
Step 9
Under the effects panel, I'll set the vignette Amount to -5 and the Midpoint to 35 to add a very gradual vignette to the image.

Step 10
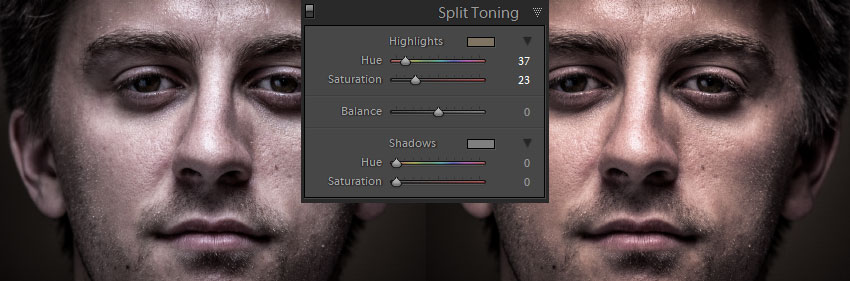
I'd like to bring back some of the skin tones while keeping the shadows on the cooler side.
In the Split Toning panel, I'll set the Highlights Hue to 37 and the Highlights Saturation to 23.
Step 11
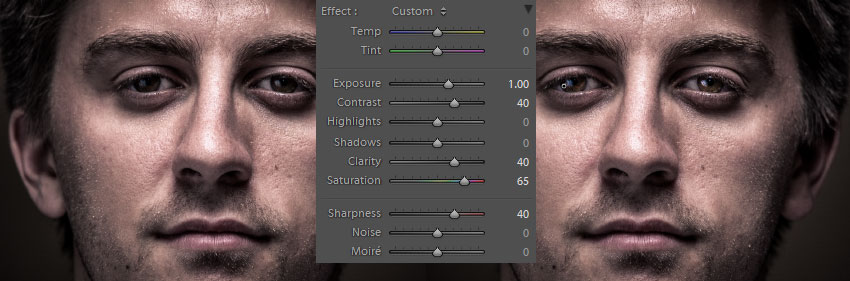
To really make this portrait stand out, I want to make the eyes one of the focal points.
Use the Adjustment Brush and paint just on the irises.
Set the Exposure to +1.00, the Contrast, Clarity, and Sharpness to 40, and the Saturation to 65.
Step 12
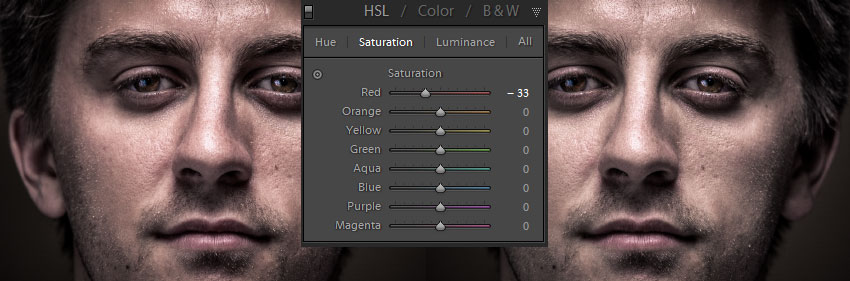
I want to take out just a bit of color from the skin.
In the HSL panel under the Saturation sub-tab, set the Red to -33.
Step 13
Lastly, I want to darken the ears a bit, so I'll paint using a large soft brush over the side edges of the image with the Adjustment Brush tool.
Then I'll simply set the Exposure to -1.00.

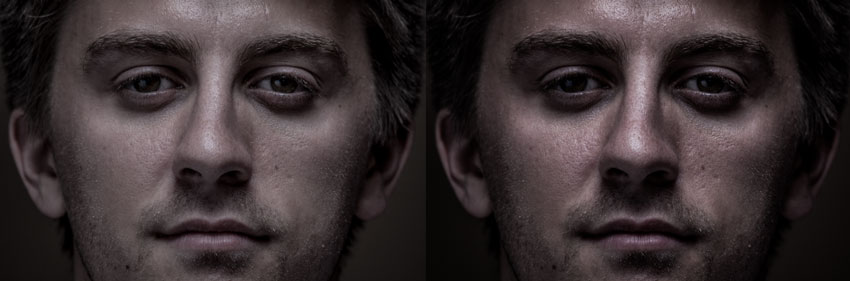
Final Image
As you can see, Lightroom offers a ton of leeway when processing your portraits.

What did you learn from this tutorial? Do you have a photo you edited using similar techniques? Share it in the comments.