How to Add Dimension and Texture Using Lighting Effects in Photoshop

Watch Video Tutorial
Download full HD videos and tutorial project files with a PanoPass. You'll also get instant access to everything on the site, including products, and more.
Plain ol' textures are a dime a dozen these days, so it takes a little something extra to create graphics that stand out.
This tutorial will teach you how to add some depth and dimension to a flat texture using the lighting effects filter and a dash of Photoshop layer styles.
Step 1
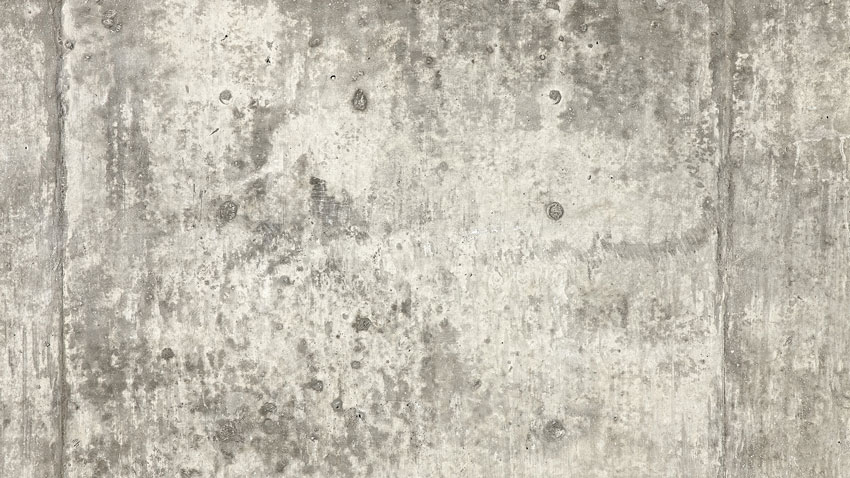
Open your texture in Photoshop. We're using one from our Concrete and Cement Textures Pack 1.
Duplicate the background layer (CTRL + J).
Step 2
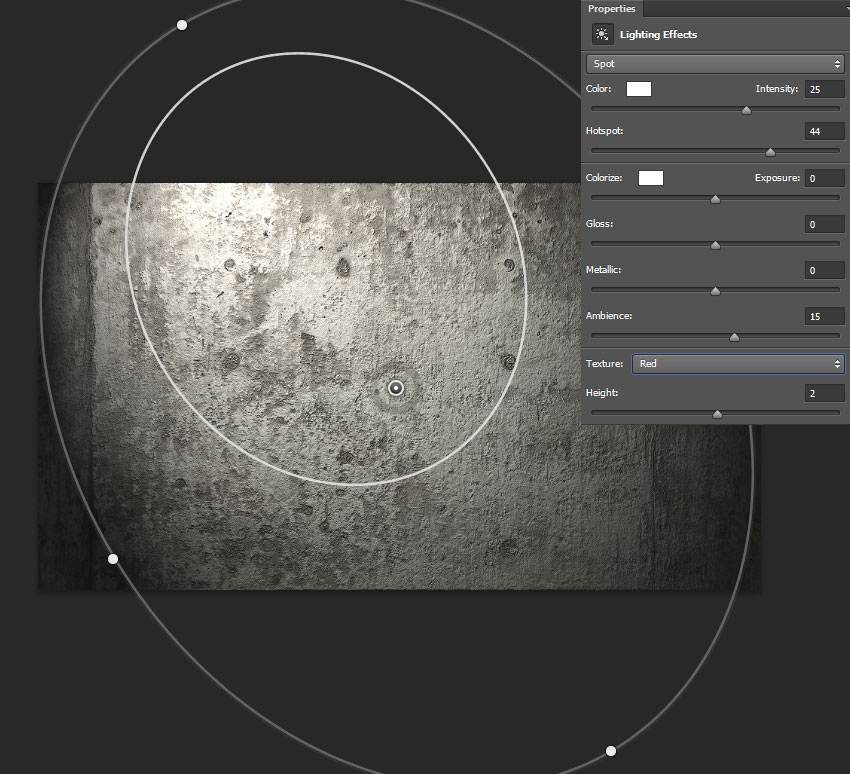
Click Filter > Render > Lighting Effects. Under "Presets" in the top menu, select Default.
Move the handles around and change the settings in the Properties panel to match the settings below.
Step 3
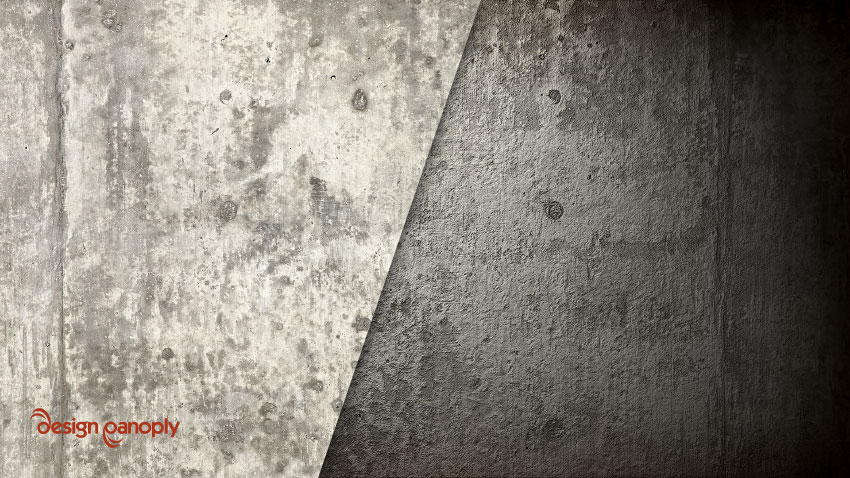
Double click your layer to open the Layer Style dialog. Apply the following settings to enhance the vignette.
The color used is #4D2A00.

Final Image
You can see that with a few simple steps, you can quickly transform a flat texture into something with much more depth and interest.
Were you able to use these methods on your own textures? Share your version in the comments.
Related Items
Grab a PanoPass now and get instant access to all these items and much more.
