How to Conform Text to a Surface Using a Displacement Map in Photoshop

Watch Video Tutorial
Download full HD videos and tutorial project files with a PanoPass. You'll also get instant access to everything on the site, including products, and more.
There's nothing that screams "fake" more than a dynamic background surface covered in boring, flat text. Giving your text or shape layer the same depth as the background it sits on will instantly improve the realism of your designs.
This tutorial will teach you how to wrap your text and shape layers so that they conform to the surface of the layer underneath.
Step 1
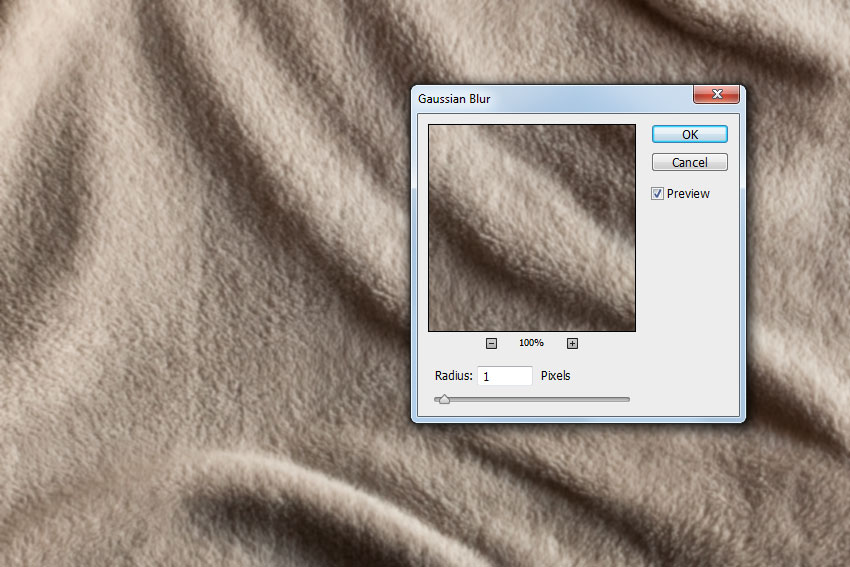
Open the background image you plan to use. We'll need to make some slight alterations to make it suitable for use as a displacement map.
Click Filter > Blur > Gaussian Blur and set the Radius to 1 pixels.
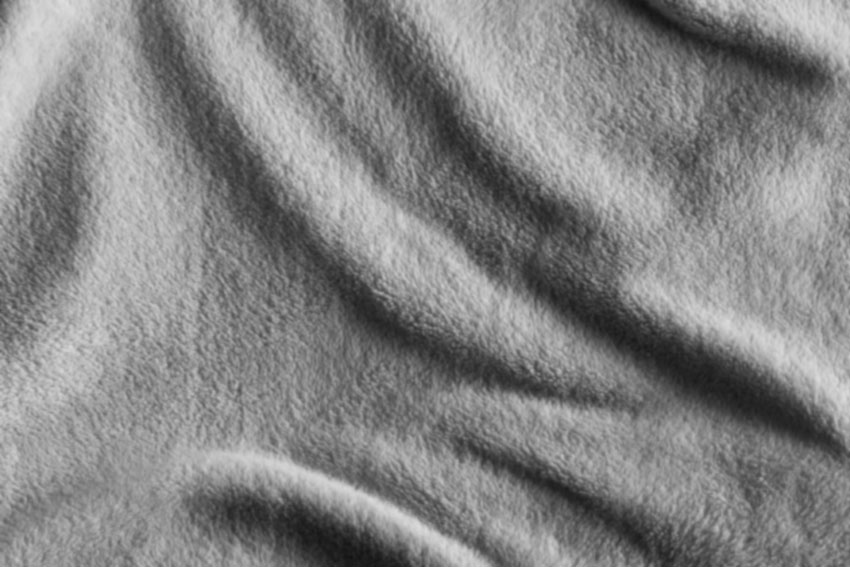
Click Image > Adjustments > Desaturate to make it black and white.
Save your slightly blurred, grayscale image as a PSD file to your hard drive, then close it within Photoshop.
Step 2
Re-open your original background image in Photoshop.
Create some text using the Type tool.
Displacement Maps can only be applied to rasterized layers, or to Smart Objects. Right click your text layer in the Layers panel and select Convert to Smart Object.

Step 3
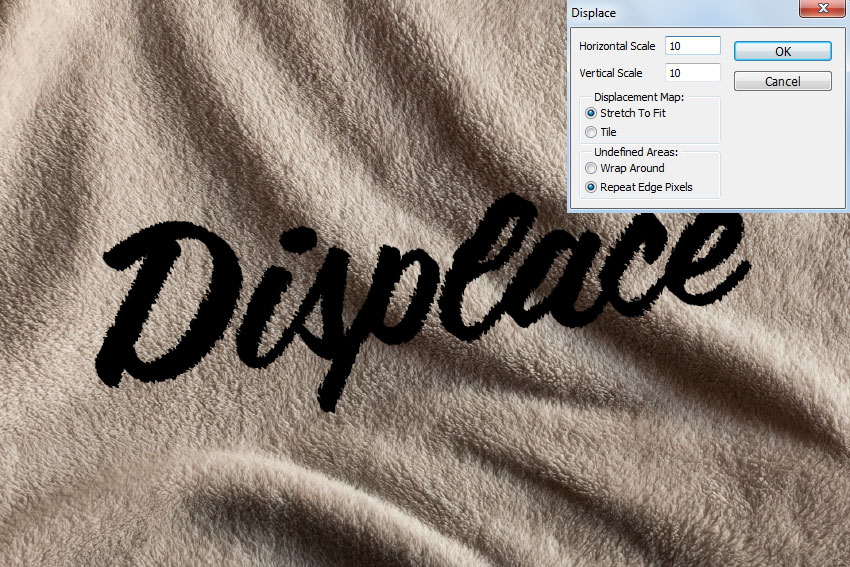
Click Filter > Distort > Displace. Set the Horizontal and Vertical Scale to 10, the Displacement Map to Stretch to Fit, and the Undefined Areas to Repeat Edge Pixels and hit OK.
A file browser will open. Navigate to the displacement map we created in Step 1 and open it to apply it to your text.
Step 4
Set the Fill of your text layer to 0% in the Layers panel. Double click your text layer in the Layers panel to open the Layer Style dialog.
Apply the following Layer Style settings. You may need to change some settings to fit the lighting in your specific background.
Use the color #86A8CB for the Color Overlay.
Final Image
Since your text is a Smart Object, you can double click the Displace filter and change the intensity, or double click the layer thumbnail to open and edit the text.

Were you able to apply this technique to your work? Share you version in the comments.