How to Turn a Photo into a Seamless, Tileable Texture in Photoshop

Watch Video Tutorial
Download full HD videos and tutorial project files with a PanoPass. You'll also get instant access to everything on the site, including products, and more.
There are literally millions of amazing textures and patterns out there just waiting to be downloaded. The problem is that sometimes they don't quite fit your document dimensions. Have no fear!
This tutorial will teach you how to convert an image that doesn't repeat well into a seamlessly tileable pattern in just a few minutes so you're no longer limited to using textures "as-is".
Step 1
Open your texture in Photoshop. Ours is 1,920 x 1,080 pixels, which is important to know as we move forward.
Click Filter > Other > Offset, and set the the values to half of your total image dimensions. Make sure you have the Wrap Around radio button selected and hit OK.

Step 2
There's a few ways to blend the seams, but for this image, we'll use the patch tool because it will sample from other areas in our image to maintain the crumbled paper look, rather that over-smoothing anything.
Create a new blank layer, then select the Patch Tool (J).
In the top toolbar, make sure you have the Patch mode set to Content-Aware and the Sample All Layers checkbox checked. You may need to play with the Adaptation settings for different images, but Medium is usually fine.

Step 3
Click on your selection and drag it right or left while holding shift.
When you release the mouse button, Photoshop will replace your original selection with content sampled from the area you dragged to.
Since we created a new layer, the blend between the seams will be separate from your original image and can be deleted if necessary.

Step 4
Repeat the same process to remove the horizontal seam.

Step 5
Press CTRL + ALT + E to create a new, flattened layer in your document. Click Edit > Define Pattern and give your pattern a name.
Create a new document using the same dimensions as your original image, in our case, 1,920 x 1,080 pixels.
Create a new layer and fill it with white. Double click the layer in the Layers panel to open the Layer Style dialog and turn on the Pattern Overlay.
Select the pattern we just created and voila!
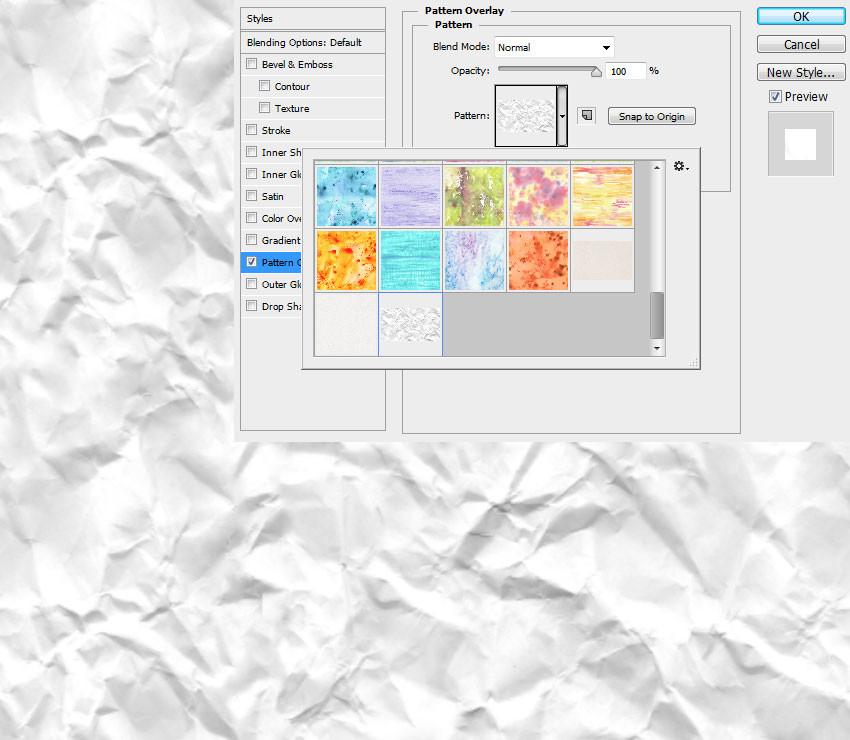
Within the Layer Styles dialog, you can scale your pattern down, and even click and drag on your canvas to move it around. You'll notice that there are now no hard seams.
Every texture is different and might require some extra tweaking, but the process will always be the same.
Did this method help you create a seamless, tileable pattern? Show us in the comments.