Realistic Torn Paper Note On A Wood Background

Today we're going to create a realistic torn paper note on a wood background.
The purpose of this tutorial is to learn a few different lighting and shading techniques and how to work with patterns and textures to give your designs a realistic edge.
Knowing how to create 3-dimensionality and realism is something every designer should learn and will come in very handy.
What We Will Be Making

Step 1
Create a new document. Ours is 1920 x 1280, that way when we're finished, we can use it as a desktop background on almost any size monitor.
Step 2
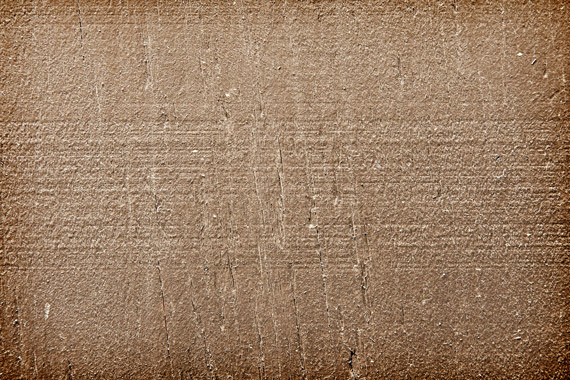
Find a suitable texture for the background. We used our very own Wood Texture 016, which can be resized to 1920 x 1280 without any cropping. You can download an 800 x 533 version for personal use only here. Copy and paste the texture into your new document.
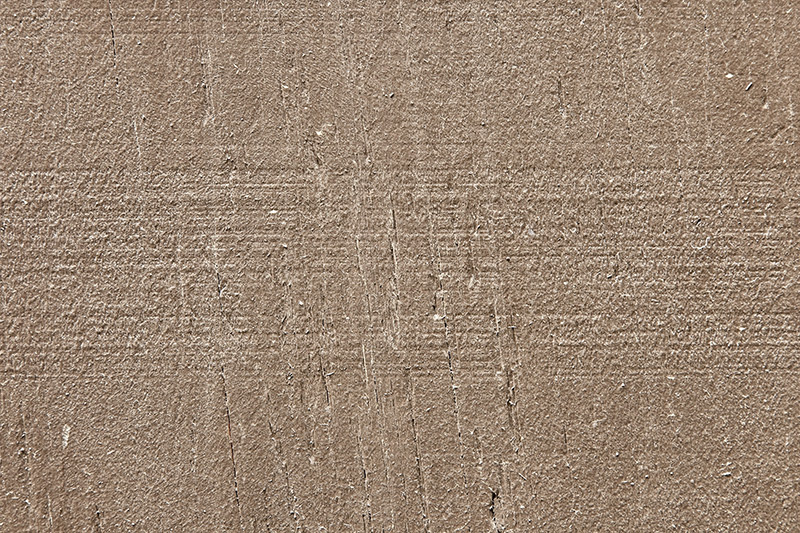

Step 3
We want to add some shading and depth to the background to make it look more realistic. Apply the following settings to the Blending Options of the background texture.
We also saturated the colors slightly by clicking Layer > New Adjustment Layer > Hue/Saturation, making sure to check the Use Previous Layer To Create Clipping Mask box, and adjusting the Saturation slider up to 25.
Step 4
Find a paper texture suitable for a note. We used this slightly crumpled lined paper texture by bheware at DeviantArt.com.
Open the paper texture in Photoshop. Crop it slightly to make sure all the edges are perfectly straight.
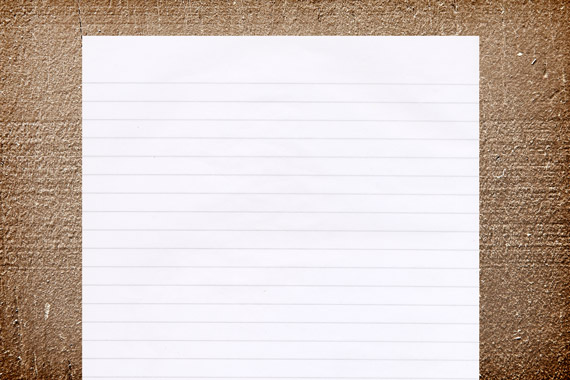
Copy and paste the paper texture onto the background and resize it so it looks similar to the image below.
Step 5
There are multiple methods to make the paper look torn. One of the easiest ways is just to use Photoshop brushes. We used one from our Torn Paper Edges Brush Pack. You can download a lower resolution torn paper edge brush for personal use only here.
Choose the eraser tool and select your torn paper edge brush from the Brush Palette. You may need to rotate the brush by clicking and dragging on the Rotate Brush icon in Brush Tip Shape tab of the Brushes Palette.
![]()
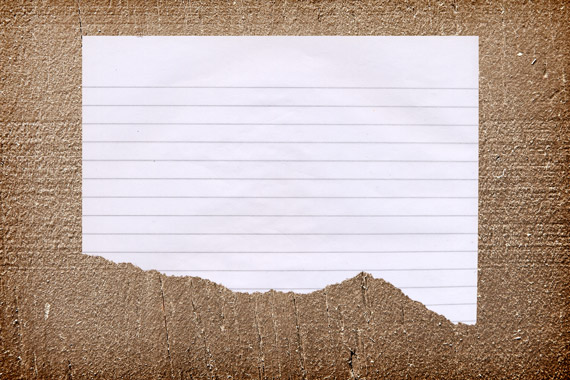
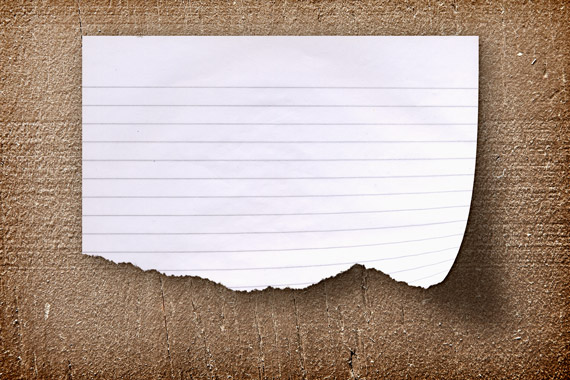
Erase the bottom portion of the paper layer, making sure to erase the parts that are hanging off the canvas too.
Right click the layer and select Convert to Smart Object. Converting it to a Smart Object allows us to warp the layer later without destroying the integrity of the image.
Your paper should now look similar to the image below.
Step 6
Duplicate the paper layer and apply the following Blending Options settings to create a shadow. Note that the color is not black but a very dark red. The hex code for the color is #170B00.
Right click the shadow layer and select Convert to Smart Object. Move the shadow layer beneath the paper layer and hide it for now by clicking the eyeball icon for the layer in the Layers Palette.
Step 7
Select the paper layer and choose the Move tool (V). Make sure the Show Transform Controls box is checked in the toolbar, which is across the top of the Photoshop window by default. With the Move tool selected, click on one of the handles surrounding the paper layer to enter Free Transform mode.
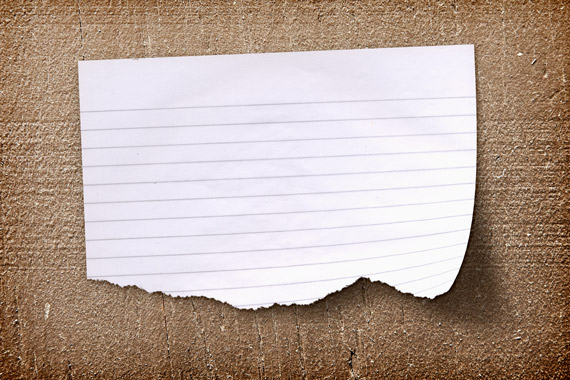
Right click on the paper and select Warp. Drag the bottom right corner up and to the left to make it look like it's curling up and away from the background.
Step 8
Apply the following Blending Options settings to the paper layer.

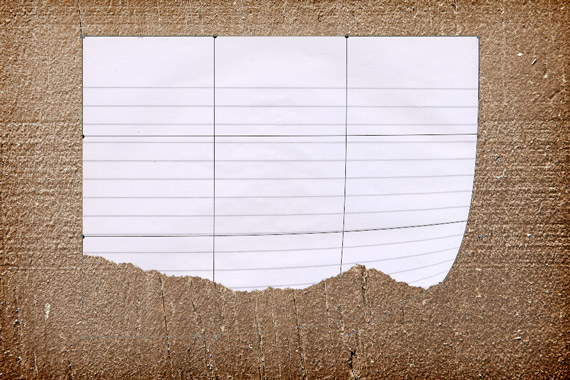
The gradient is used to make the curled part of the paper lighter than the rest. Adjust your gradient as you see fit. Your image should now look like the one below.

Step 9
Unhide and select the shadow layer. Change the layer Blending Mode to Color Burn and the Opacity to 65%.
Warp the shadow layer, but this time, drag the bottom right handle down and to the right.
Click Filter > Gaussian Blur. Choose a setting that will give you similar results to the image below. We used 40 pixels but depending on the resolution of your document you may need to use a smaller or larger number.
Move the shadow layer down and the the right slightly so that it doesn't stick out from under the top and left sides of the paper as much.
Step 10
Select your paper and shadow layers and rotate them slightly.
Step 11
Using a handwritten font, type your message on the paper and rotate it into position. We used Hand of Sean, available at DaFont.
Set the Blending Mode for any type layers you create to Overlay and an Opacity of 85-90% to make the text slightly see through.

Step 12
Find a crumpled paper texture like this one from designoahu.com.
Open it in Photoshop and press CTRL + A (or Command + A on a Mac) to select the entire image. Click Edit > Define Pattern and give it a name.
This will make the texture available in the Patterns Palette within the Pattern Overlay tab in your Blending Options.
Step 13
On a new layer, draw a box to represent a piece of tape using the color #F5F4E5 and rotate it into position like the image below.
If you create the box as a vector shape, you will need to rasterize it by right clicking on the layer in the Layers Palette and selecting Rasterize Layer before you continue.

Step 14
Erase the ends of the box using the same torn edge brush like you did to the paper in step 5.
Set the Opacity of the tape layer to 90-95% to make it slightly see through. Apply the following Blending Options to add some texture and depth to the tape.
Make sure to choose the crumpled paper pattern you created in step 12.
Your tape should now look similar to the image below.

Step 15
Repeat these steps to create another piece of tape in the top right corner of the paper.

Step 16
Create a new layer on top of all the others and fill it with a medium gray color. Click Filter > Render > Lighting Effects and use settings similar to the ones shown below.
Set the layer Blending Mode to Overlay and Opacity to 30%. This will give the final image a more direct light source to compliment the shadows and other lighting effects we created earlier.
Final Image
The great thing about this file is that you can reuse it for multiple projects simply by changing the background, changing the text, or by moving and rotating the elements into new positions.