Realistically Blend Typography with a Background in Photoshop

Watch Video Tutorial
Download full HD videos and tutorial project files with a PanoPass. You'll also get instant access to everything on the site, including products, and more.
Crafting professional looking work often requires the ability to seamlessly combine multiple sources into a single design.
This tutorial will teach you how to realistically blend typography with a background image in Photoshop.
Step 1
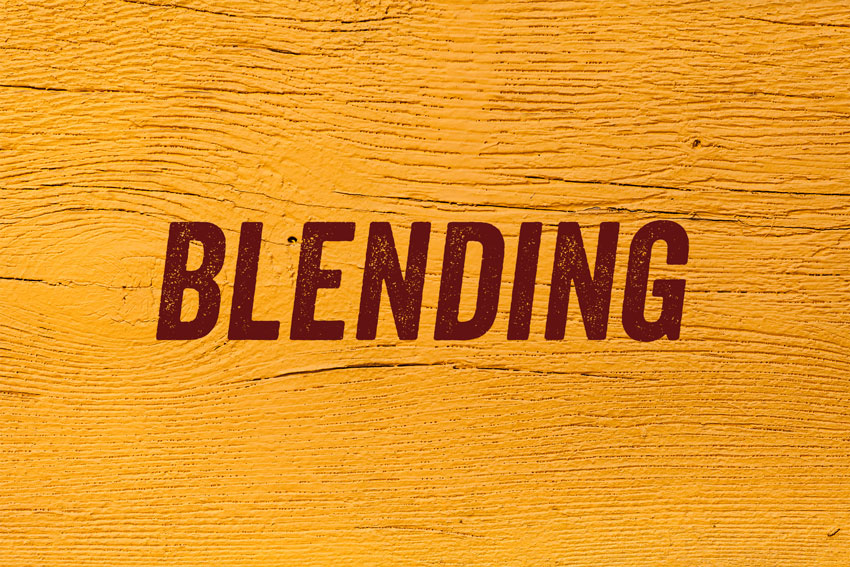
Open up your texture in Photoshop. We're using an image from our Wood Textures Pack 3.
Create your title text using a bold, italic font and the color #621212.
We're using the font Veneer, which is already distressed, but this effect works well with almost anything.
Step 2
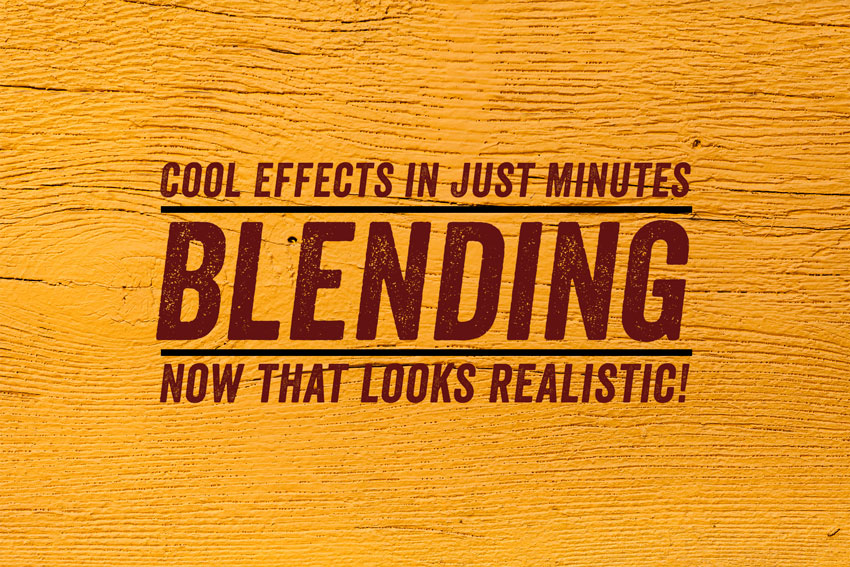
Using the rectangle tool, create two black separators above and below your title text.
Create some sub-text above and below each separator using the same font as your title text.
Step 3
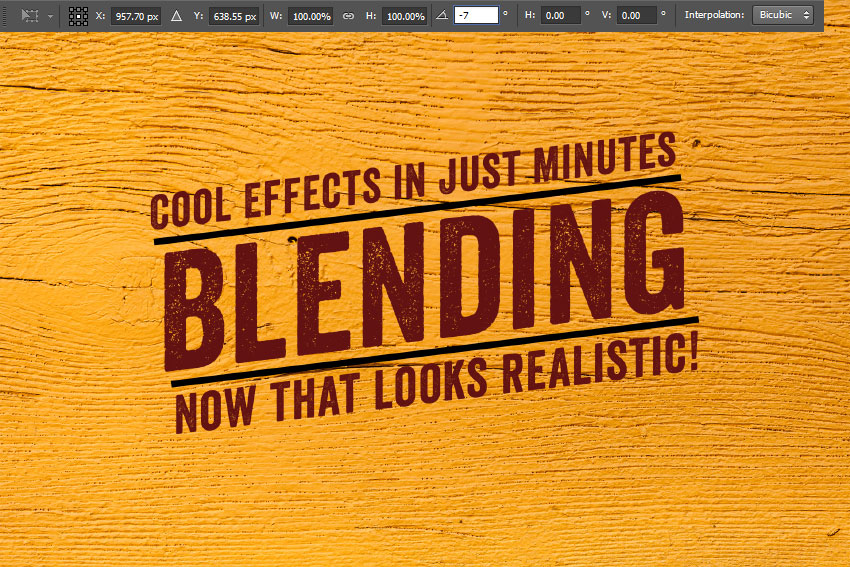
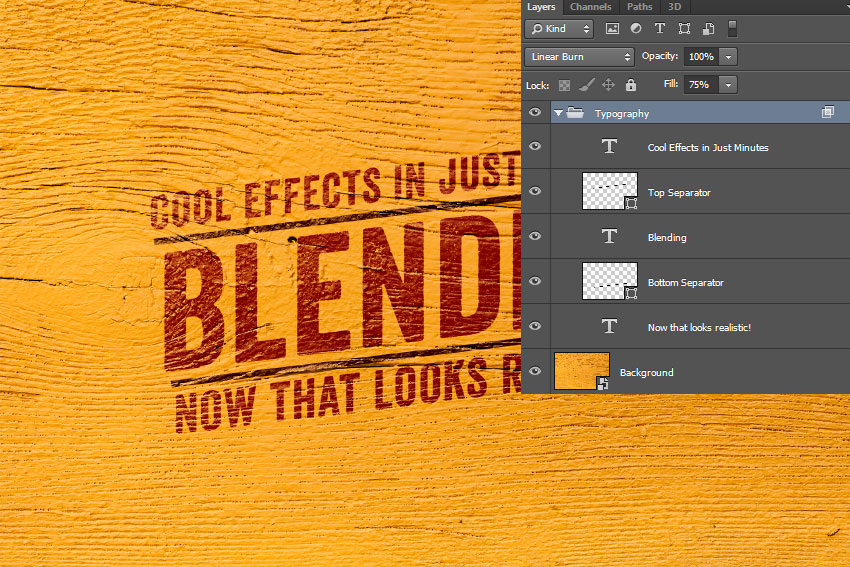
Move your text and separators into a new Layer Group named "Typography".
Select the "Typography" Layer Group and press CTRL + T to enter Free Transform mode. In the top toolbar, rotate your text until the italicized lines become vertical. In our case, it's -7 degrees.
Step 4
This is where most of the magic happens.
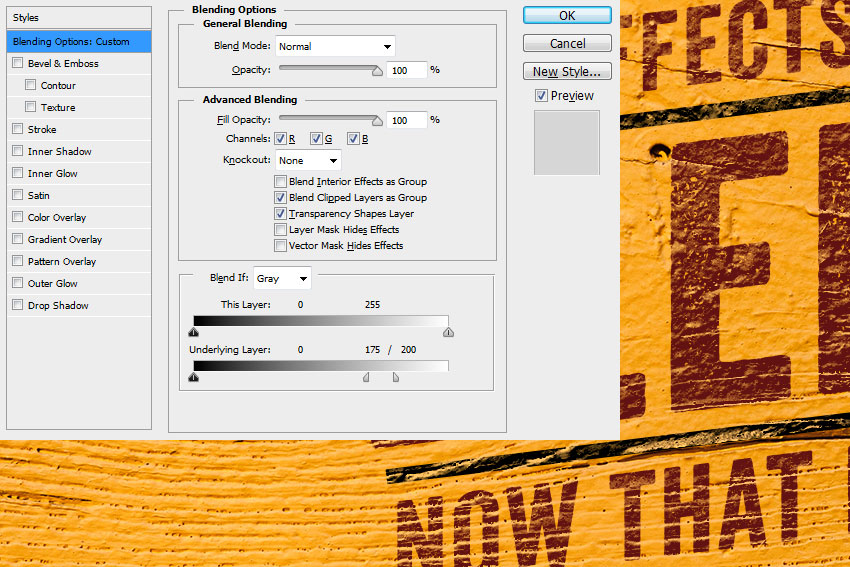
Double click the "Typography" Layer Group to open the Layer Styles dialog.
In the main window, under the Blend If settings, drag the right stop to the left until it reaches 175.
ALT + click and drag the right side of the stop to split it into two. Drag the new stop to the right until it reaches 200. This will create a more gradual transition for the blend.
The settings for different backgrounds will vary, so you'll have to tweak things to your liking.
Step 6
Set the Blend Mode of the "Typography" Layer Group to Linear Burn and the Fill to 75% in the Layers panel.
Step 7
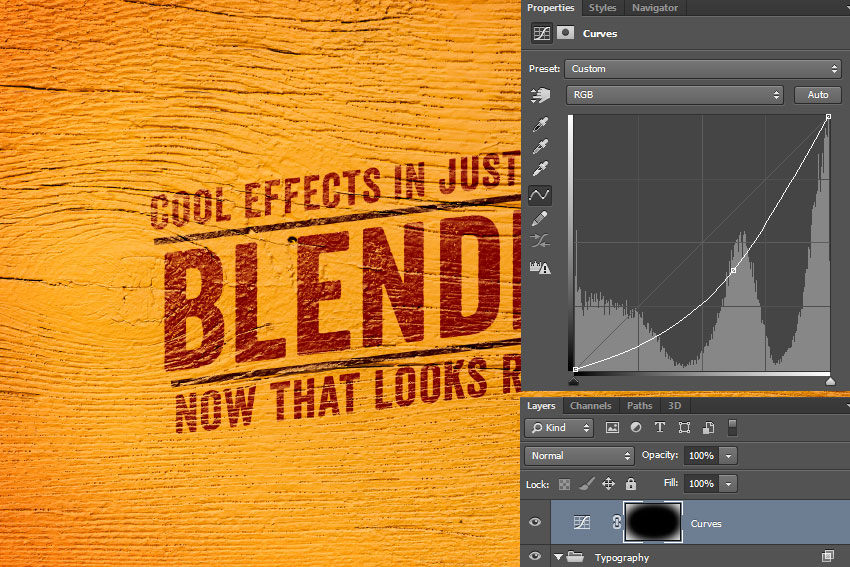
Create a new Curves Adjustment Layer and give it a white Layer Mask. Drag the center of the curve down and to the right to darken your image.
Using a large, soft brush, paint black in the center of the Layer Mask so the Curves Adjustment Layer only affects the outer edges of you image.
Final Image
The "Blend If" settings in the Layer Styles dialog are an underused, but extremely powerful tool to quickly blend all types of layers together.
Depending on the color of your text and background, you may need to adjust the left side stops within the Layer Styles dialog instead of the right ones.

What type of background did you try? Did this method work for you? Share your results in the comments.
Related Items
Grab a PanoPass now and get instant access to all these items and much more.
