How to Create a Medieval Movie Title Slide in Photoshop

Download full HD videos and tutorial project files with a PanoPass. You'll also get instant access to everything on the site, including products, and more.
With every popular movie or TV series — like Game of Thrones — comes a new beautiful set of intro graphics to gawk at.
This tutorial will teach you how to make a medieval movie title slide in Photoshop using simple shapes, backgrounds, and layer styles.
Step 1
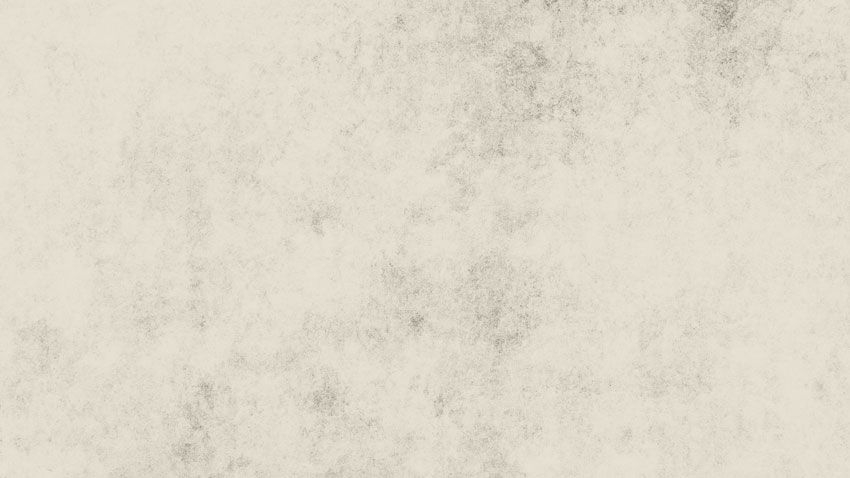
The first thing you'll need is a subtle black and white texture. One is included in the project files for PanoPass members, or you can grab something like this pack of Seamless Subtle Textures.
Create a new document at 1,920 x 1,080 pixels. Place the subtle texture into your new document.
Click Layer > New Fill Layer > Solid Color and give it the color #BCAB85 and set the Opacity to 35% in the Layers panel.
Step 2
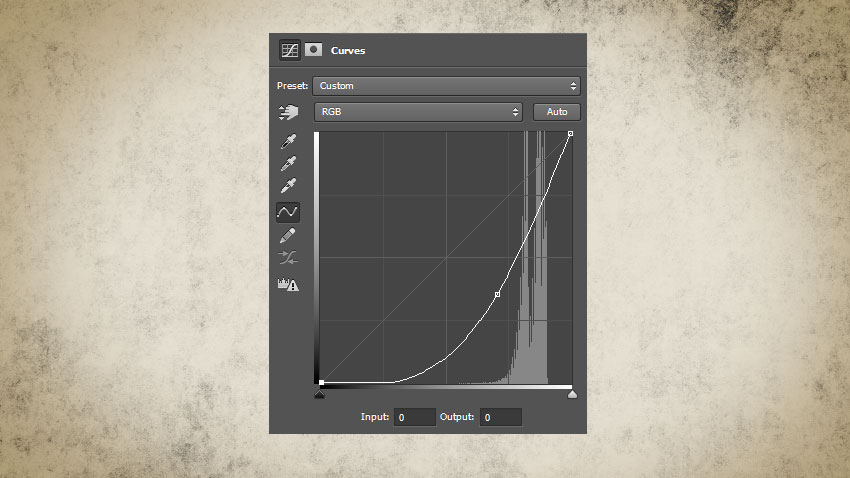
Create a Curves Adjustment Layer and give it a Layer Mask if it doesn't already have one.
Bring the center of the curve down and to the right a bit to darken the image. Then paint black in the center of the Layer Mask using a large, soft brush to create a vignette.
Step 3
Create a stripe that's 1,920px wide and 30px high using the color #624141. Move it 10px down from the top of the document and set the blend mode to Color Burn.
Duplicate that stripe and change the color to #5B6241. Resize it to 10px tall and move it down so there's 5px of space between the two stripes.
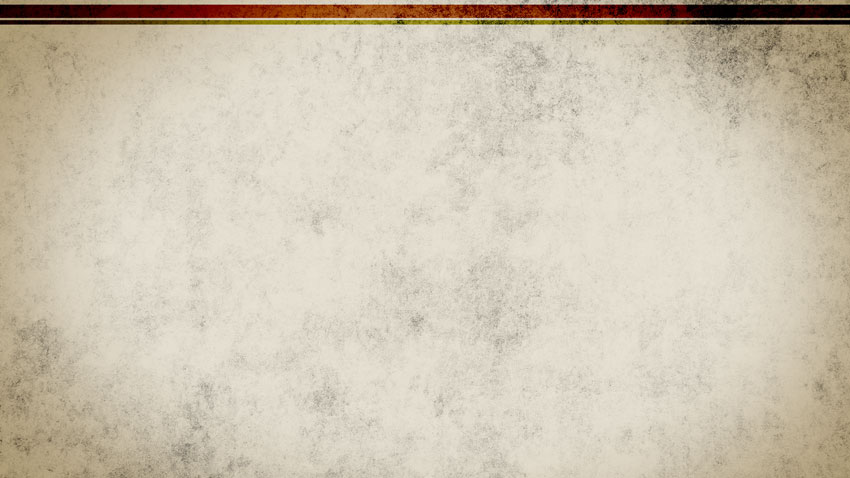
Step 4
Duplicate both stripes, rotate them 180 degrees. Move them into place 10px from the bottom of your document.
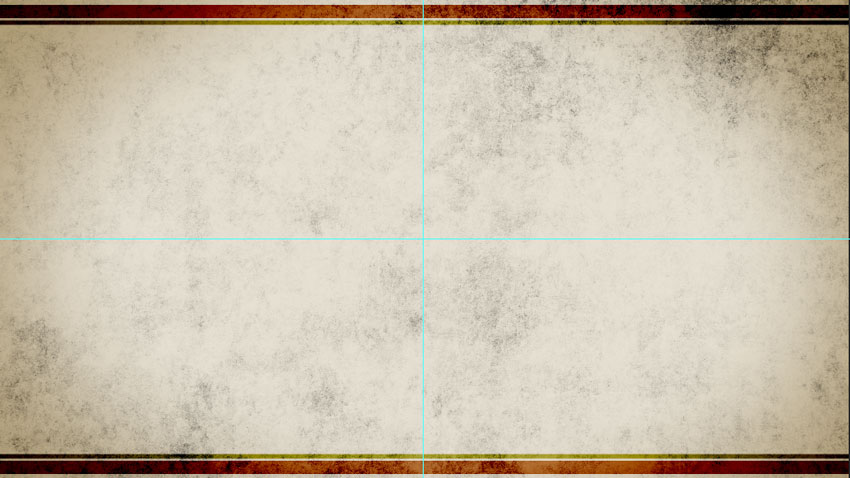
Drag out a vertical and horizontal guide until they snap into place in the center of your document. We will use this center point to place our next shapes.
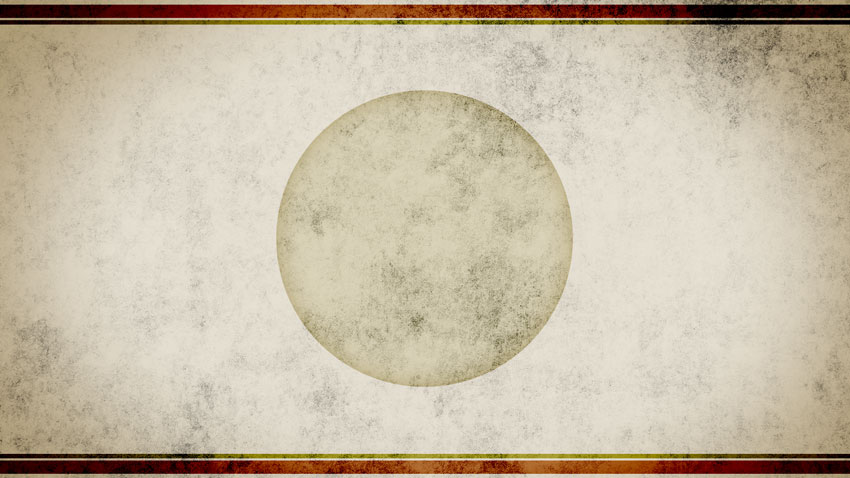
Step 5
Create an ellipse that is 670px in diameter using the same green color as our stripes, which is #5B6241. Set the Blend Mode to Color Burn and the Fill to 50% in the Layers panel.
Double click the circle layer in the Layers panel to open the Layer Style dialog. Apply the following Layer Style settings.
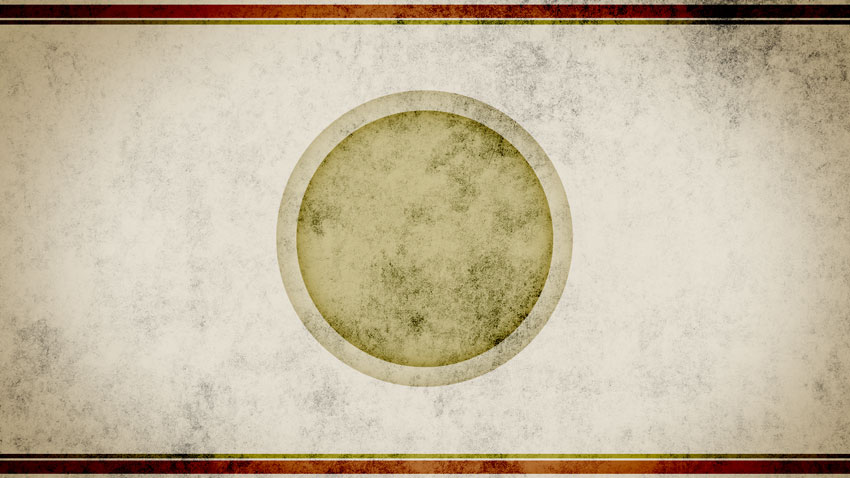
Step 6
Duplicate the circle and resize it to 580px.
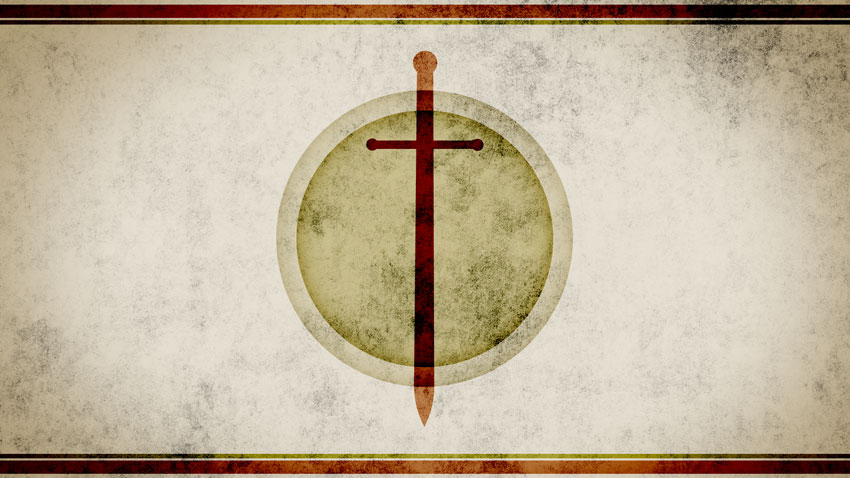
Step 7
Next, you'll need a sword silhouette. You can draw your own, download one online, or if you're a PanoPass member, use the one provided in the project files.
I'll open the sword silhouette PSD and drag it into my document.
Pro Tip: If you click and then hold shift while you're dragging items from another document, they will snap to the center of your new document when you let go of the mouse button.
Change the color of the sword silhouette to the same red as the stripes, which is #624141 and then set the Blend Mode to Color Burn in the Layers panel.
Step 8
Now we'll create our text. Create an ampersand using the Type tool. We're using the font Blackletter HPLHS. Resize it and move it to the center.
Open your original, subtle grunge background as a separate document, and click Edit > Define Pattern. This will make it available for use in our layer styles for our text.
Back in your working document, double click the ampersand layer in the Layers panel to open the Layer Style dialog. Apply the following Layer Style settings.
You'll find your subtle texture for use in the Pattern swatches for the Texture and Pattern Overlay effects.

We used the color #4D0000 for the Inner Glow.
We used the color #777165 for the Color Overlay.
You'll find your subtle texture for use in the Pattern swatches for the Texture and Pattern Overlay effects.

Step 9
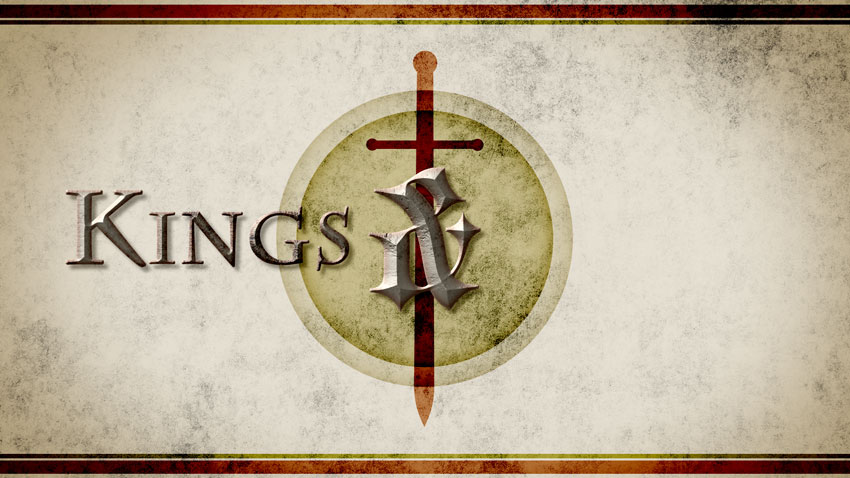
Create some text for "Kings". We're using the font Charlemagne but you could also using something like Trajan or another regal looking serif typeface.
ALT + click and drag the Layer Styles from the ampersand layer to the Kings layer in the Layers panel to duplicate the Layer Styles.
Right click the Layer Styles for the "Kinds" layer and choose Scale Effects. Set the amount to 65% and hit OK.
Go into the Layer Styles for the "Kings" layer and tweak the following settings.

Step 10
Duplicate your "Kings" text layer, change the text to say "Rings", and move it to the right side of the ampersand.

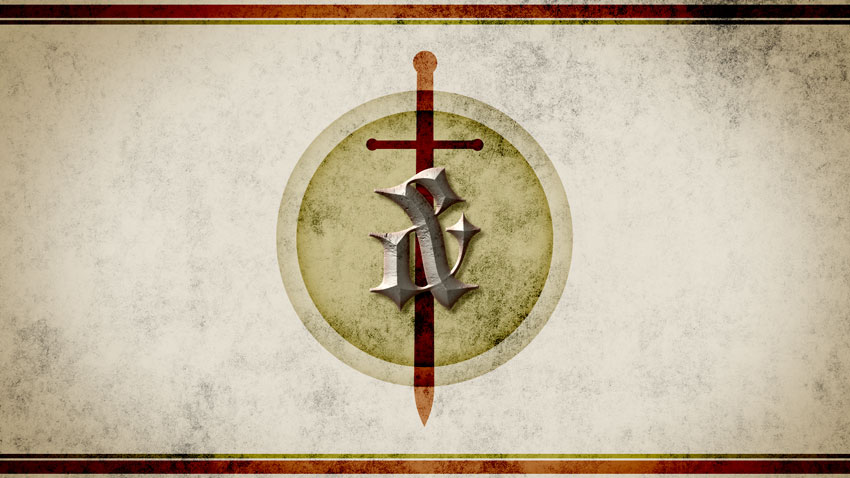
Final Image
Click the image to view it at full size.
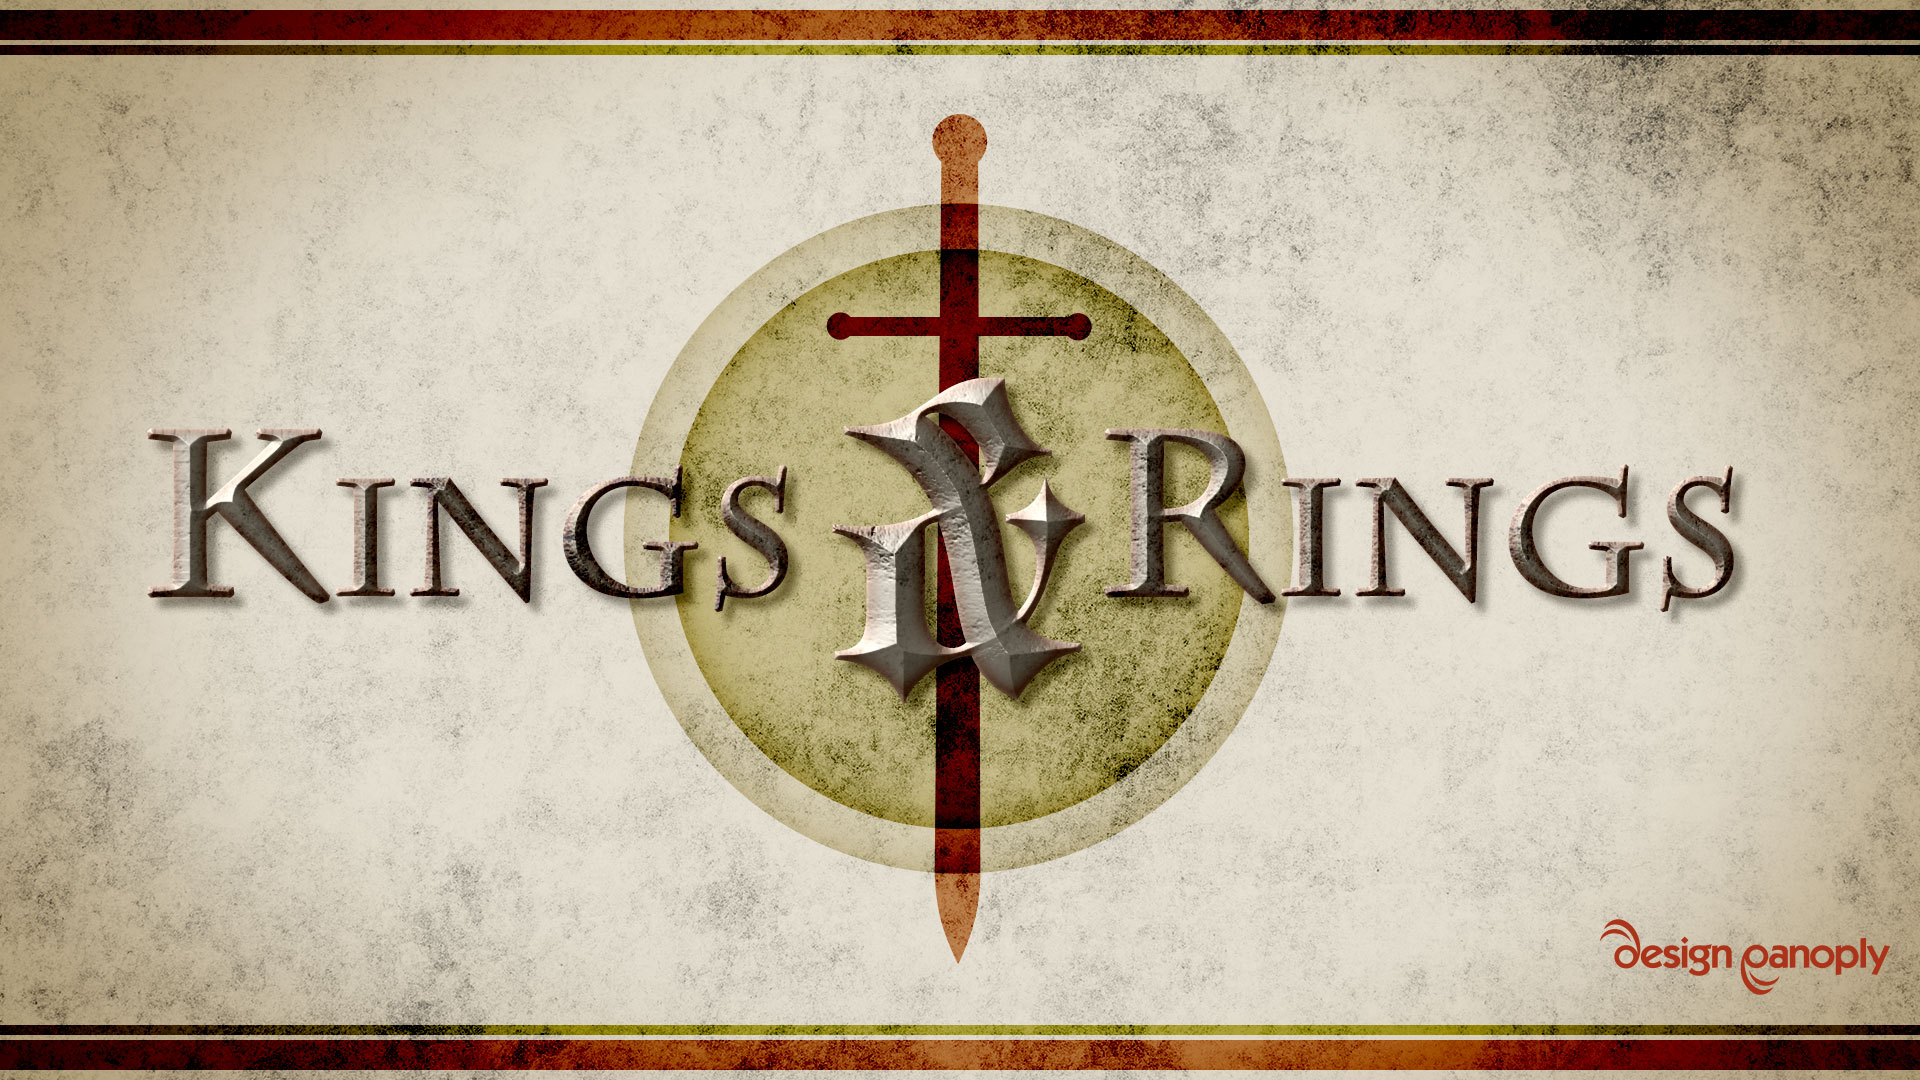
This text effect was inspired by Game of Thrones, which is coming back in April. Are you going to watch?
Were you able to create a similar effect? Share your version in the comments.
Related Items
Grab a PanoPass now and get instant access to all these items and much more.
