Snow Covered Candy Cane Text Effect

Watch Video Tutorial
Download full HD videos and tutorial project files with a PanoPass. You'll also get instant access to everything on the site, including products, and more.
Today we're going to create a festive text effect that is perfect for Christmas and holiday designs like greeting cards, website headers, and e-mail blasts.
We'll be using a few different techniques including Photoshop layer styles, image overlays, and vector masks. Put on your Santa cap and let's get to it!
What You Will Be Making

Step 1
Create a new document and fill the bottom layer with a medium gray color. Our working file is 610 x 400 pixels. Make sure the bottom layer is unlocked before you continue, (if it's locked, double click it and then click OK).

Step 2
First, we will create a simple background for our text. Click Filter > Render > Lighting Effects and use settings similar to the ones below. This will help give the background some depth.
Step 3
Go into the layer Blending Options by double clicking the layer in the Layers Palette or by right clicking the layer in the Layers Palette and selecting Blending Options. Use settings similar to the ones we used below.
You should now have a light blue background with a slight gradient like the image below.

Step 4
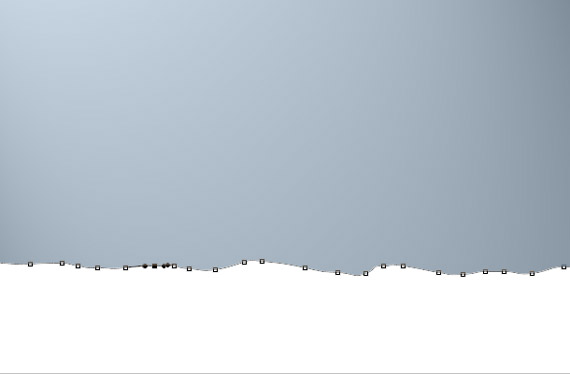
Next, we will make a shape to represent a snow covered ground. Using the pen tool, create a new shape similar to the one below. Remember, you can draw outside of the canvas with the pen tool.
Step 5
Apply the following settings to the shape you just created. If you want to save some time, you can get our Snowy White Photoshop Style or Christmas and Holiday Styles Pack here to speed up the process.

Step 6
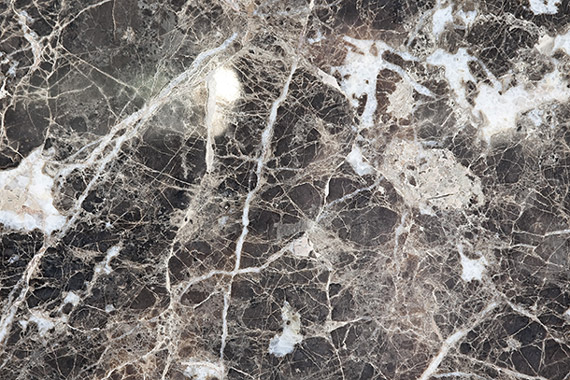
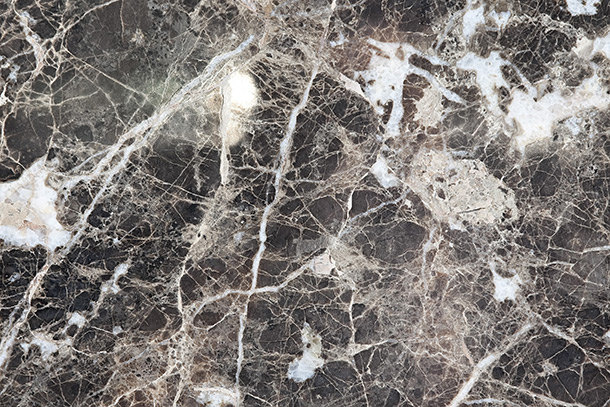
Place a texture with a cracked look to it on top of all the previously created layers. We used our Marble Texture 004. You can get a 610 pixel wide version for personal use only here.
Step 7
Change the texture layer Blending Mode to Overlay and the transparency to 15%. These settings can be found at the top of the Layers Palette. Your file should now look similar to the following image.

Step 8
Create your text on a new layer above the rest. We used the font Gotham Rounded Bold, by Hoefler and Frere-Jones, our favorite type foundry.

Step 9
Use Photoshop layer styles to create your own custom holiday look. We used our Mint Candy Photoshop Style from our Christmas and Holiday Styles Pack. You can download a slightly stripped down version for personal use only here. Right click the link and select "Save As..." if necessary.

Step 10
Duplicate your text layer. Apply the same layer style settings you used for the snowy ground in step 5. You can copy and paste layer styles settings by right clicking the layer in the Layers Palette and selecting Copy Layer Style and Paste Layer Style.

Step 11
To make it look as if the snow is resting on the candy cane text, we need to create a layer mask. With the new text layer selected, click Layer > Vector Mask > Reveal All.
Now choose the pen tool and start drawing individual shapes that overlap the tops of the letters where you want your snow to appear. As you draw, you will notice that the snowy text layer only appears inside of the shapes you draw.

Step 12
Add the text "and a happy new year" in the snowy area at the bottom.

Step 13
To get a scattered snowflake look, we used brushes from our Snowflakes Brush Pack.
You can download a single, lower resolution snowflake brush for personal use only here.
After choosing your brush, apply the following settings in the Brush Palette.

Step 14
Create a new layer just underneath the snowy ground layer.
Using white, paint across the canvas to get snowflakes of varying size and transparency.

Final Image
To give the outer edges a slight white glow, create one more layer on top of all the rest, fill it with black and set the Fill Opacity to 0%.
In the layer Blending Options give it a white inner glow with a Blending Mode of Linear Dodge and a Opacity of about 25%.
Post your questions and results in the comments below and don't forget to share this tutorial!
Related Items
Grab a PanoPass now and get instant access to all these items and much more.


